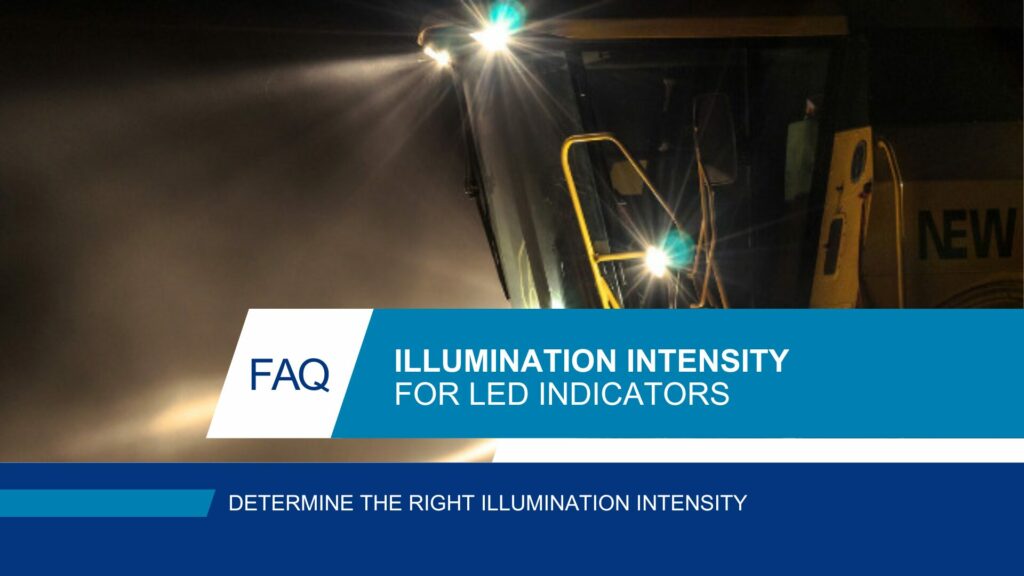
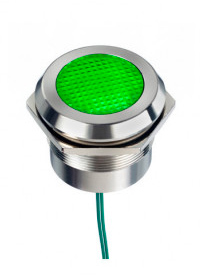
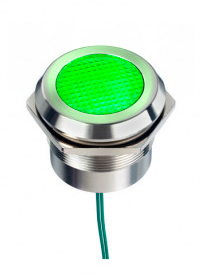
Picking an indicator with the right intensity is crucial. The viewer must be able to read the status of their equipment in the environment it is in. Illumination intensity is the amount of visible light emitted in a given direction by the light source, in our case the LED indicator. It is measured in millicandela. See the video or read below to find out about the 4 things you need to consider when picking the correct intensity.

IS IT INSIDE OR OUTSIDE?
Natural light is a very intense light source even on a cloudy day but especially on a sunny day. The intensity must be a lot higher for the indicator to be seen and daylight viewable.
IS IT CLOSE BY OR FAR AWAY?
The intensity required to see and notice an indicator light close by and at a long distance is very different. The intensity needs to increase with distance.
WHAT AND HOW MANY COLORS?
Is it just a single color your application needs, or bi- or even tricolor, maybe an RGB? Furthermore, blue, and white colored light diffuses easier, whereas red is sharper.
THE SIZE OF THE LED
The same category of LED can look more intense or less intense depending on the size of the indicator. This is due to light diffusion and the area affected by the light.
In APEM’s indicator range we have categorized the intensities in three different groups: Standard intensity is good for indoor applications, plus it can be used for backlighting different symbols. It is important that you follow the recommended loads as LEDs are very sensitive to voltage changes. Use a resistor to adjust the voltage as if high voltage is put through the LED it could be damaged.


